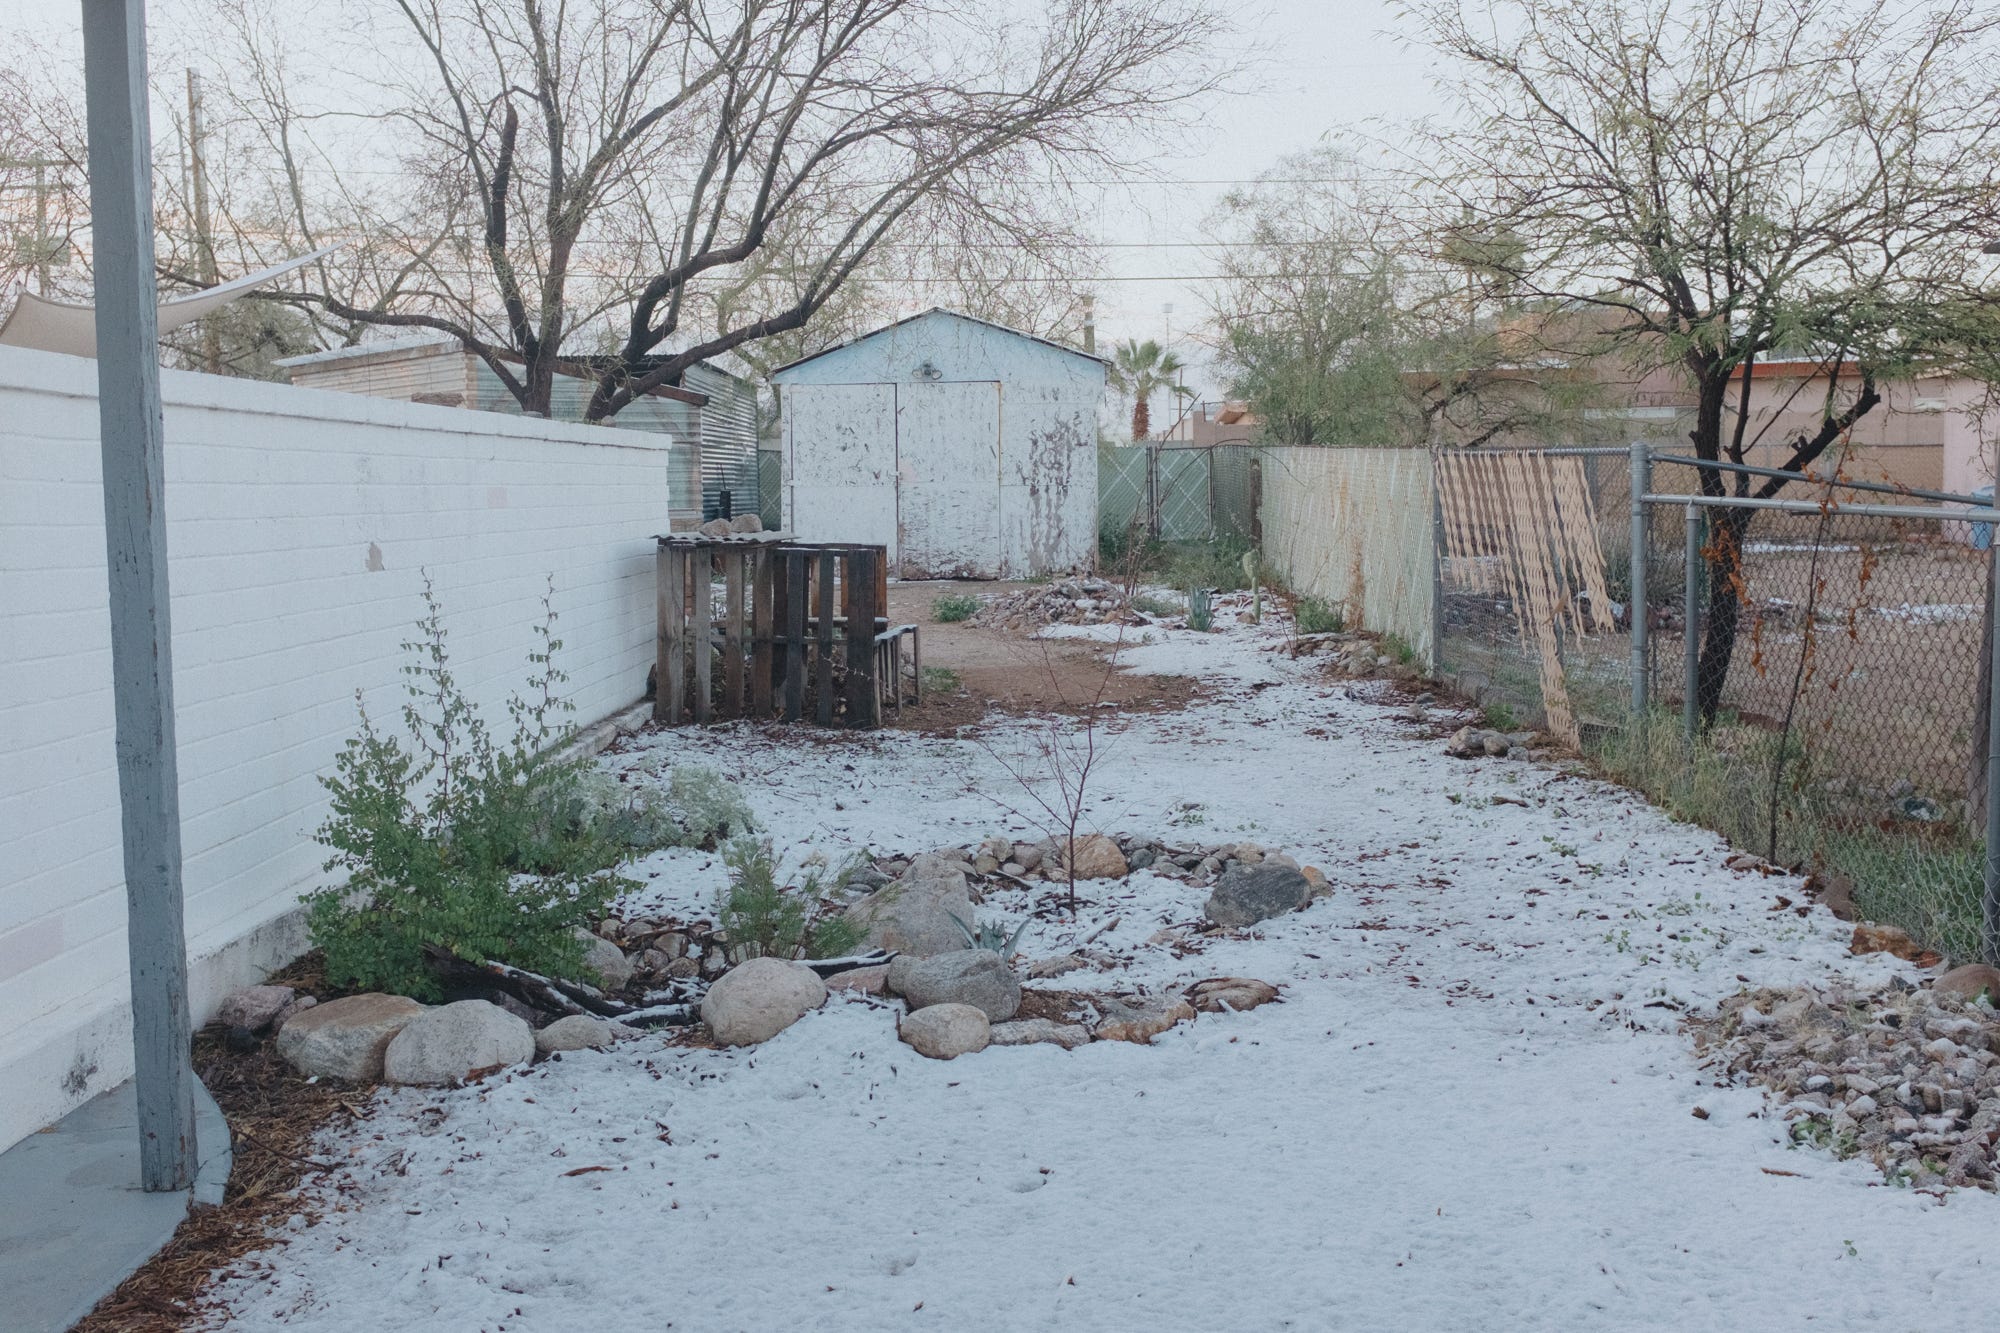
February 15th, 2023. Woke up to a garden covered with a dusting of snow. Stuck around for a bit, only where the mulch was placed.
So, the order of business around the garden of late has been the chicken shack. With a “stem wall” of cinder blocks cured, I moved onto the post connectors. I am an amateur builder and really like to lean into the amateur ethos — in my mind the pursuit of a task grounded in exploratory joy and not for money. This is freeing since it allows space for good ole fashion fuckin’ about. Some of these building shenanigans are just for fun, some are based in thrift, others are appropriations of techniques I’ve gleaned sitting around on construction sites as a landscape architect or watching “how to” videos on YouTube in languages I can’t comprehend.
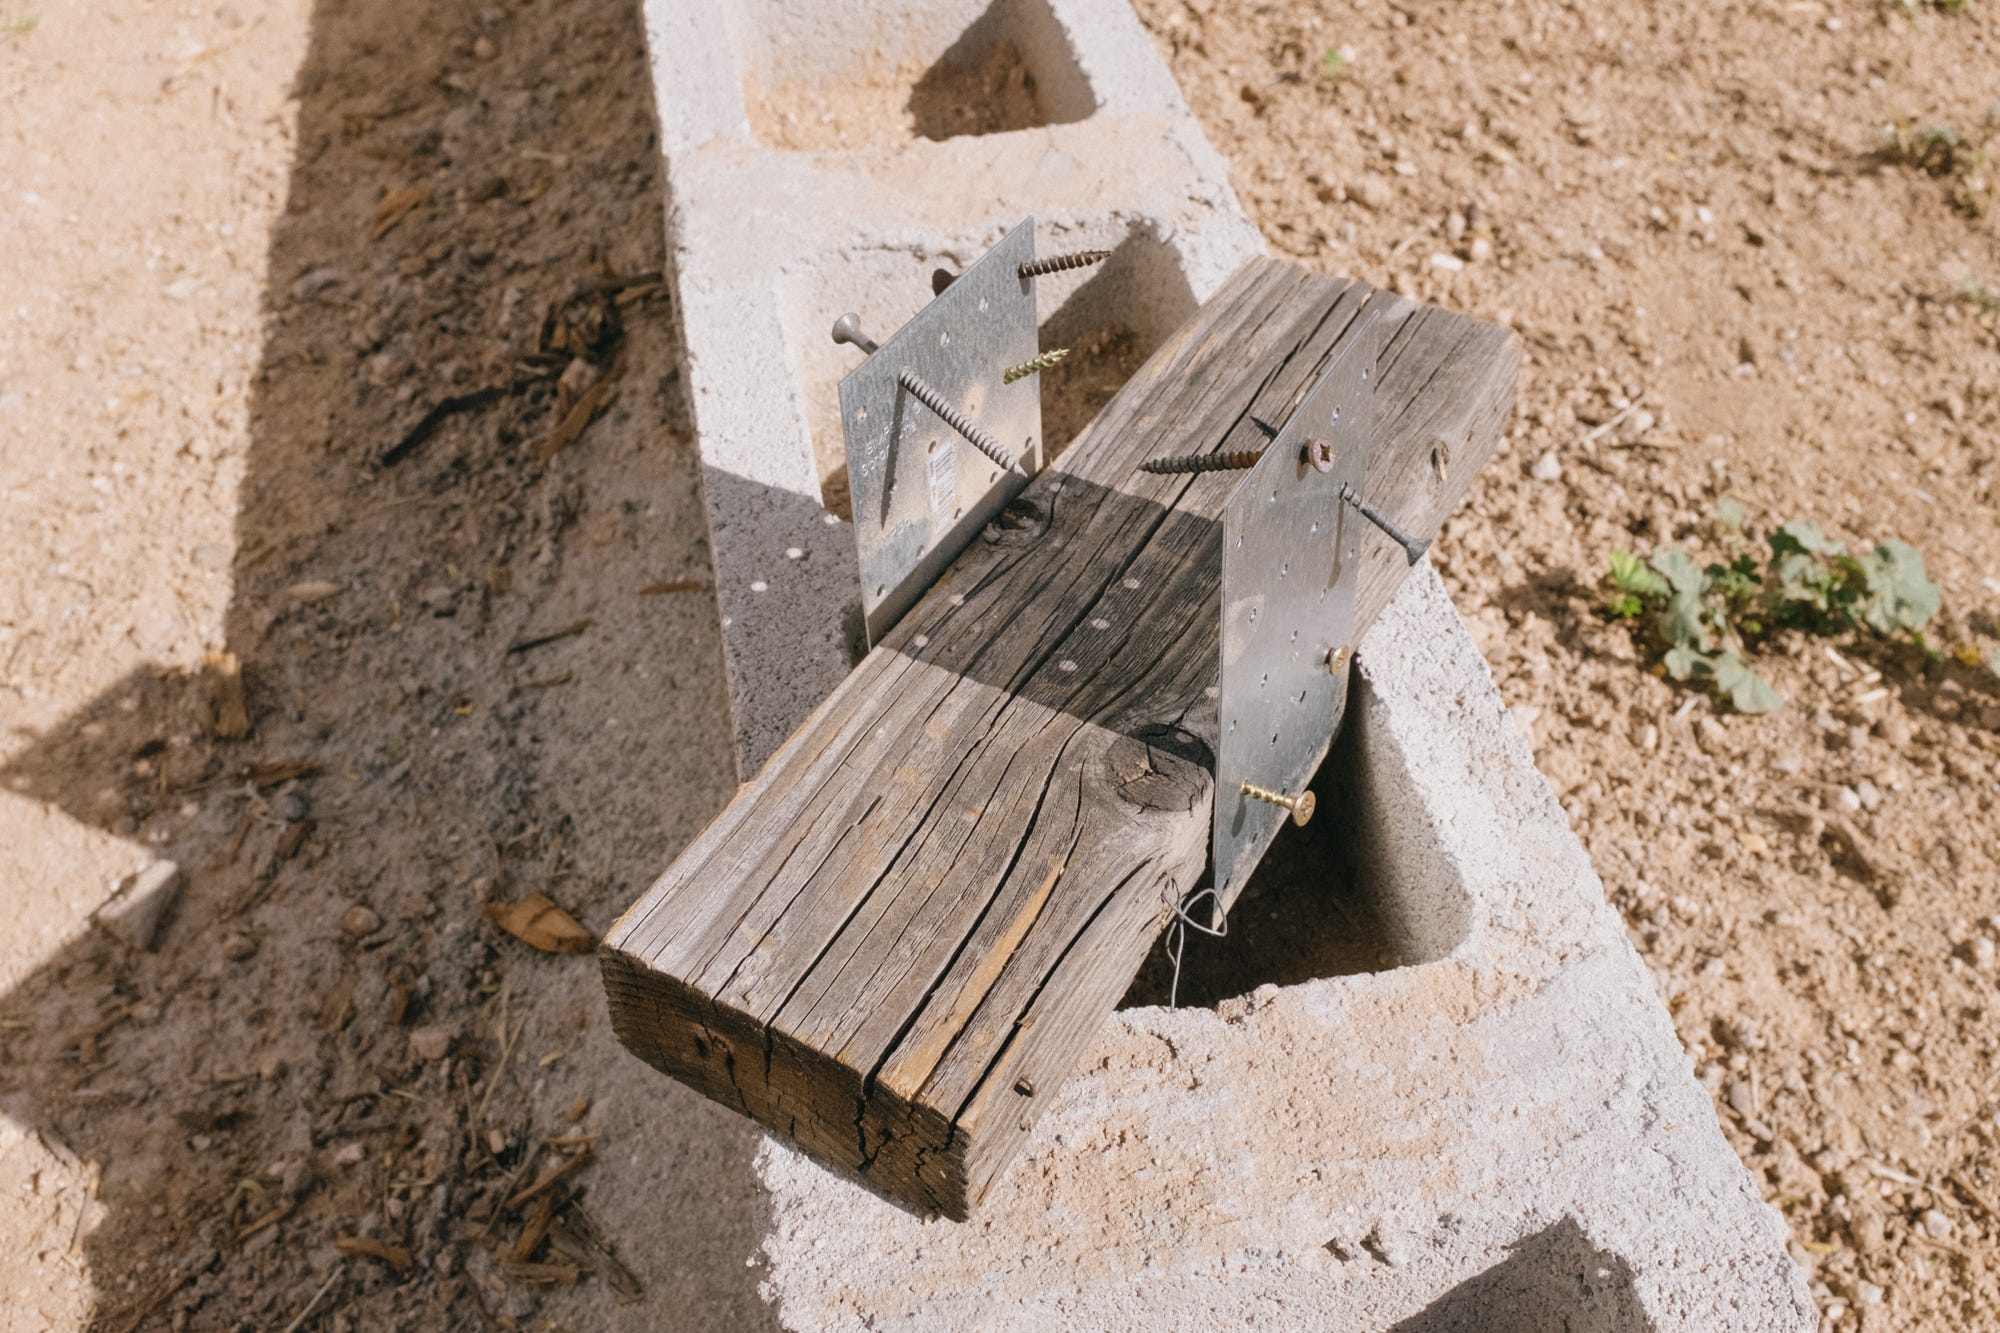
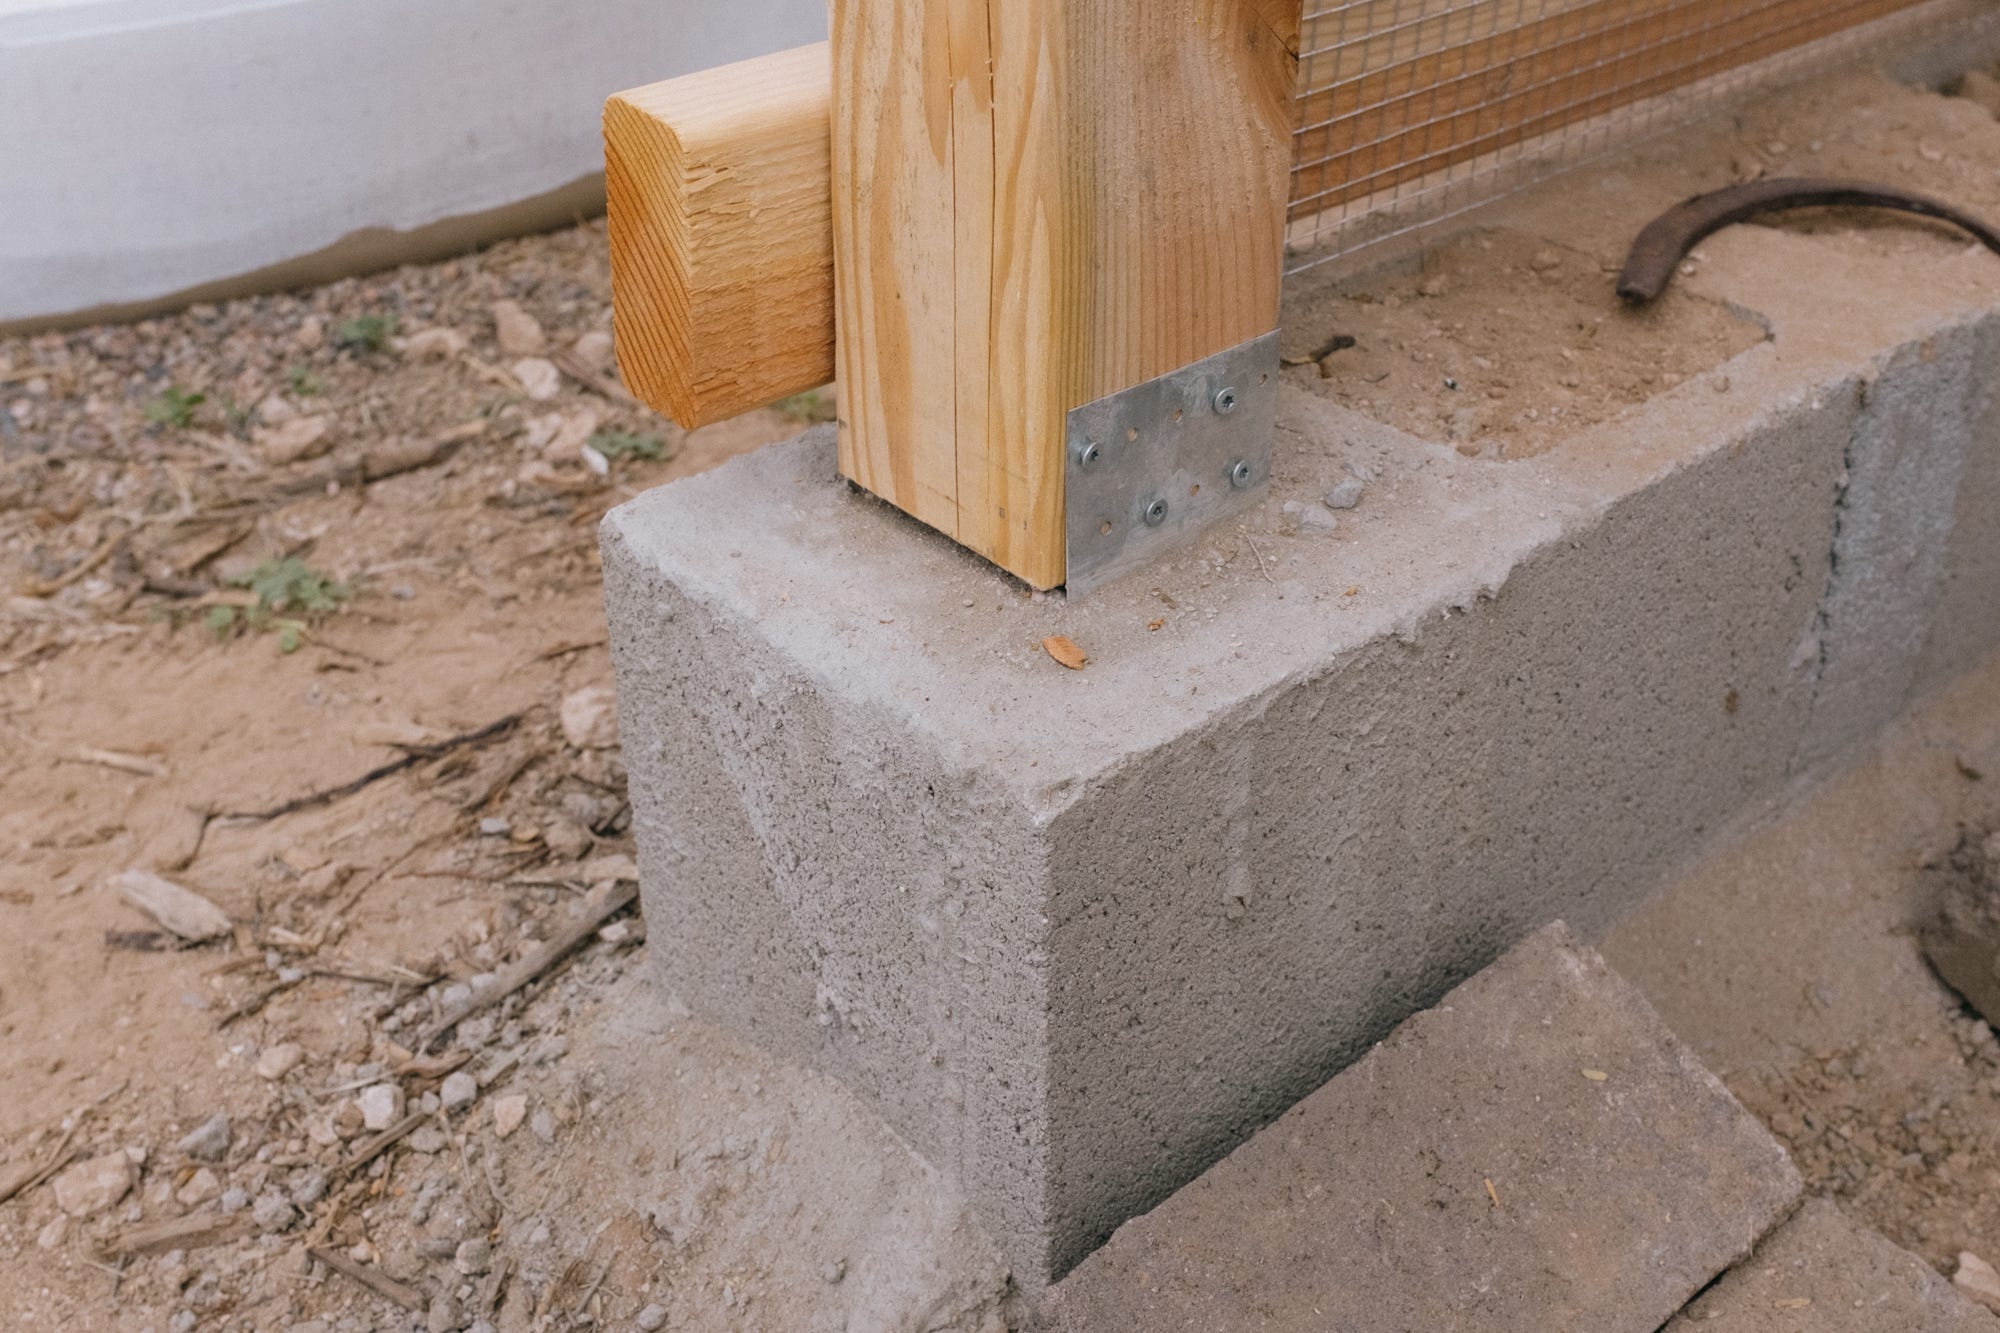
The first task after the stem wall, was to figure out a way to attach the vertical 4x4 posts. The posts are just affordable pine (don’t really want to expose the hens to pressure treated materials, and PT looks pretty wacky with its dimples and alien hues). I want to float the posts ever so slightly off the concrete foundation to allow for moisture to evaporate. It’s a chicken shed after all, so the structure won’t have too much load bearing down. Strong Tie manufactured brackets are like $20 a piece at the cheapest, so I have made my own from (2) $.98 7” perforated plates.
Thanks for reading The Mulch Pile! Subscribe for free to receive new posts and support my work.
The construction detail is…
STEP 1: Temporarily screw the plates to either side of a piece of dimensional lumber that matches the width of the post. In this case an 2x4 off cut is used to replicate the width of the new 4x4 post. Then put a bunch of random old screws/nails/wire through the wholes on the bottom side. These will go down into the concrete.
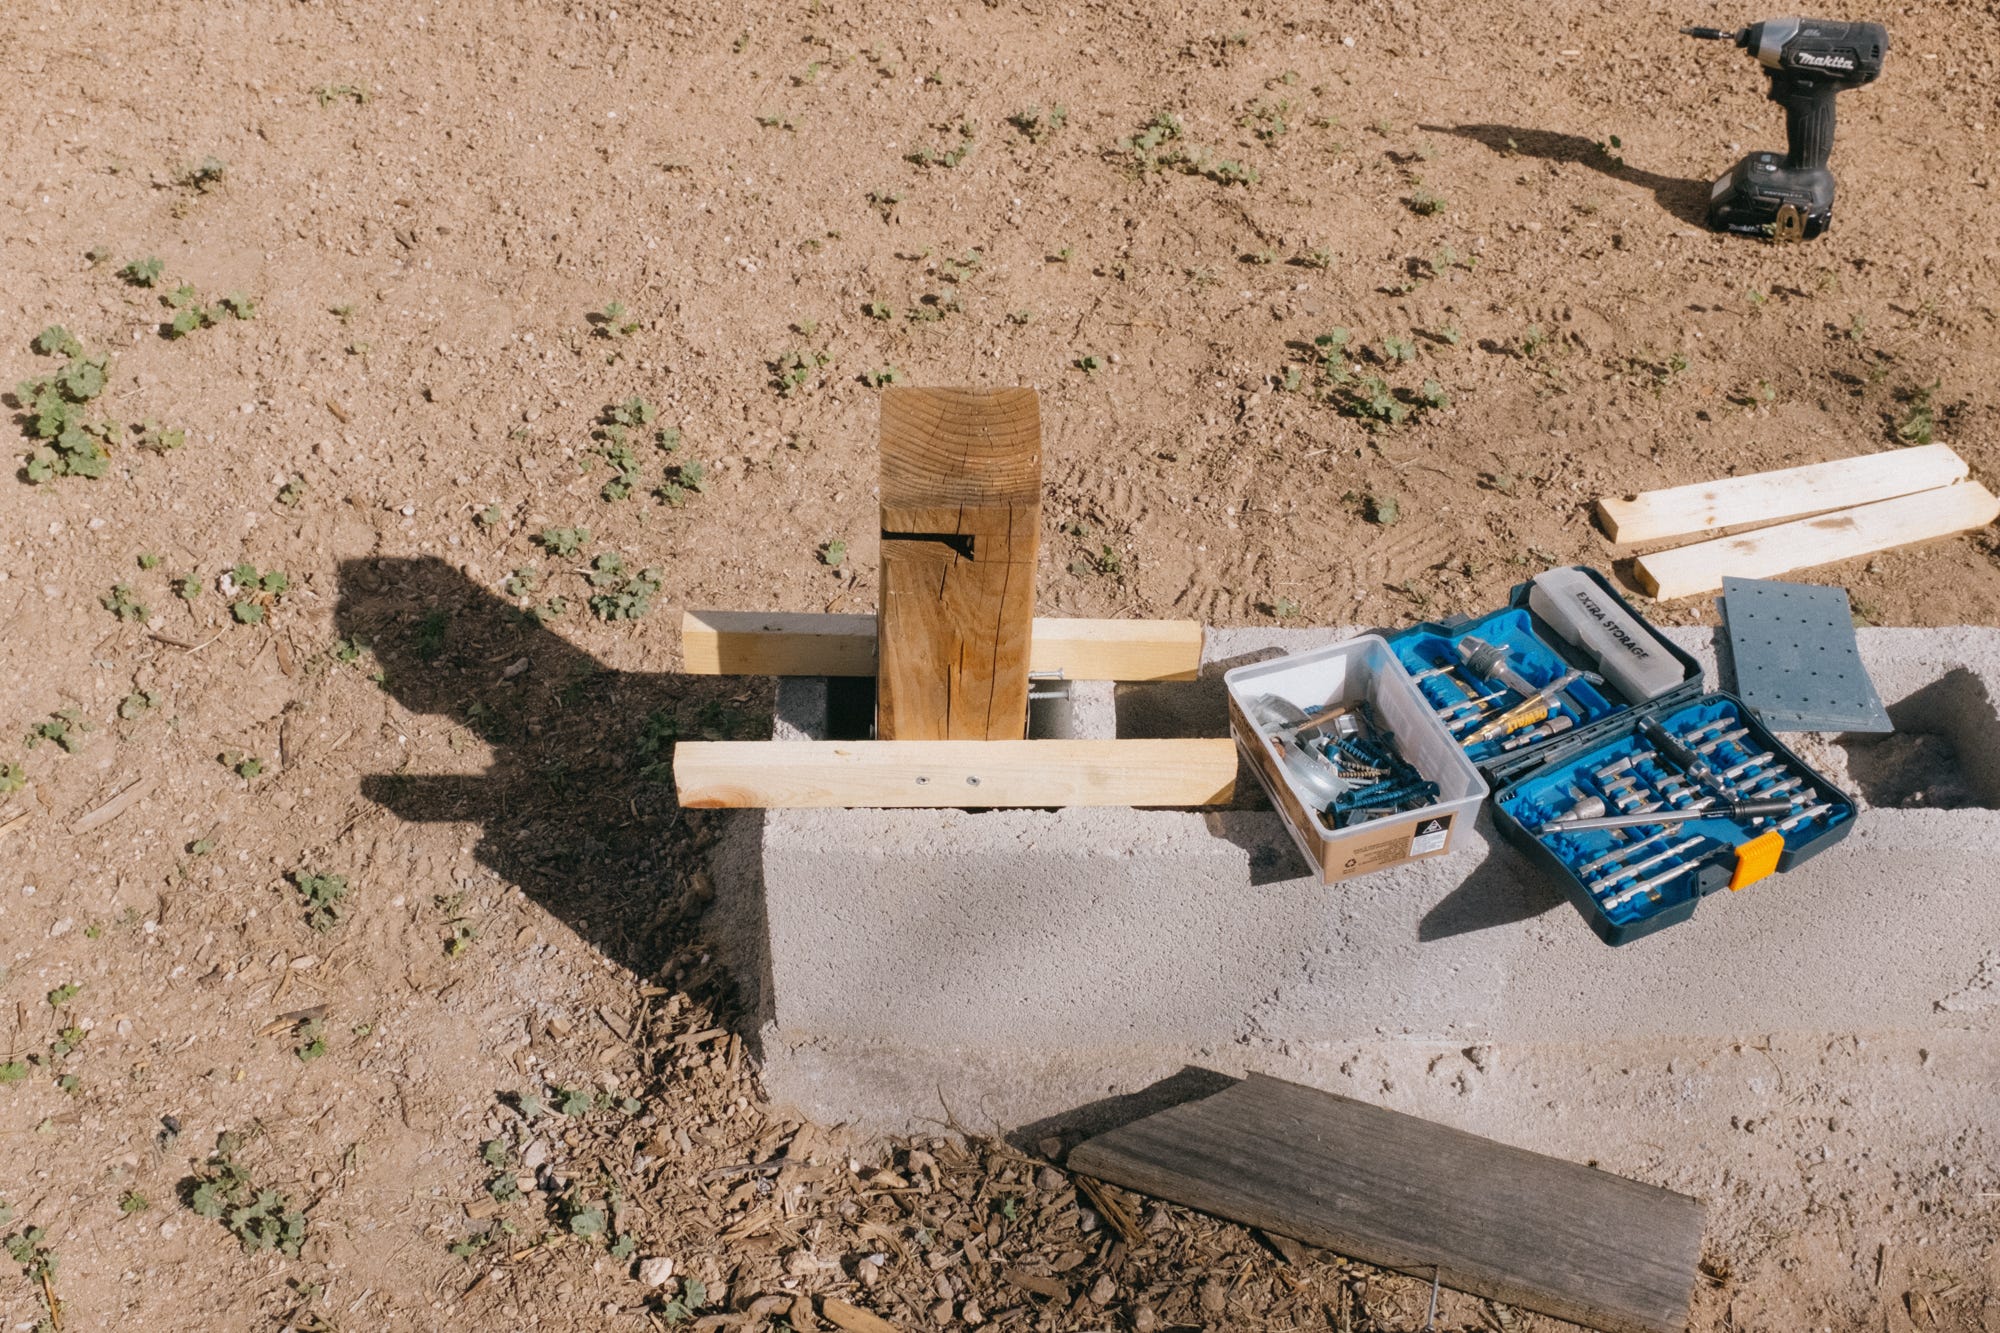
STEP 2: Flip the assembly over and position it into the corner void in a CMU block. Use wood braces to position it level while allowing access to fill the void with a concrete slurry.
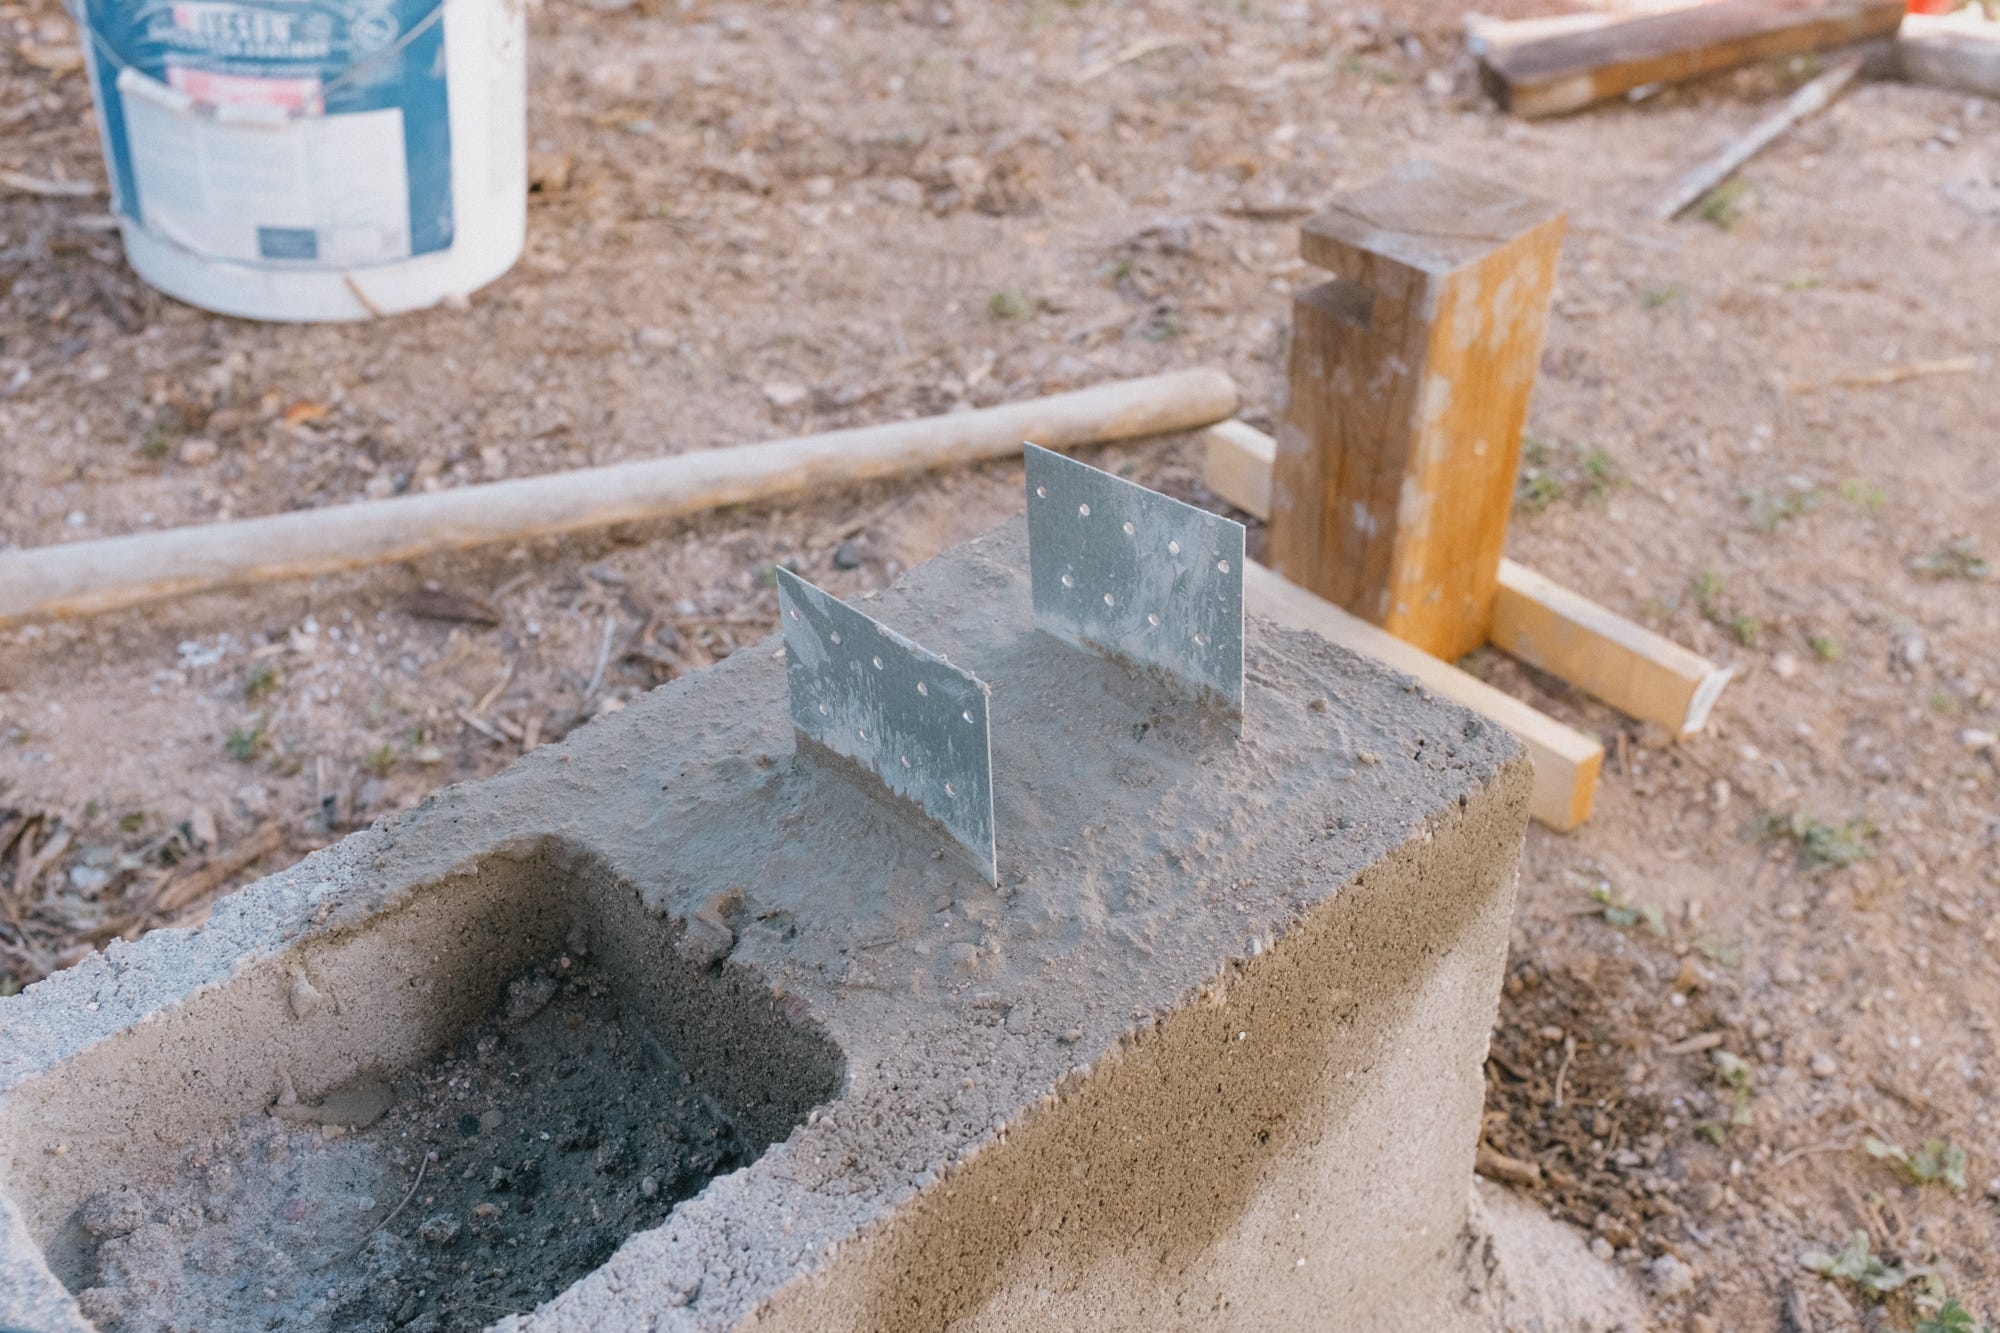
STEP 3: Fill the hole in the CMU block with concrete and agitate the bracket assembly (screws down into the concrete) to get it nice and set. Keep it aligned to the adjacent posts, or get it pretty dang close (again, a chicken shed). Once concrete firms up, remove temporary wood assembly and infill any holes with mortar.
STEP 4: Once the concrete has completely set up (24 hours could do it, use your best judgement) place the new post between the brackets and once level screw it into place. I used four screws, but you could use more, don’t use less than 3, more than 5 would look like you are trying pretty hard. That little 1/8” gap is intentional, for like drainage and like to prevent termites. I could have rubbed wood glue on the end grain to prevent splitting or burnt the bottom 12” inches of each post to prevent bugs, but these chicks are growing fast and time is a hot commodity these days.
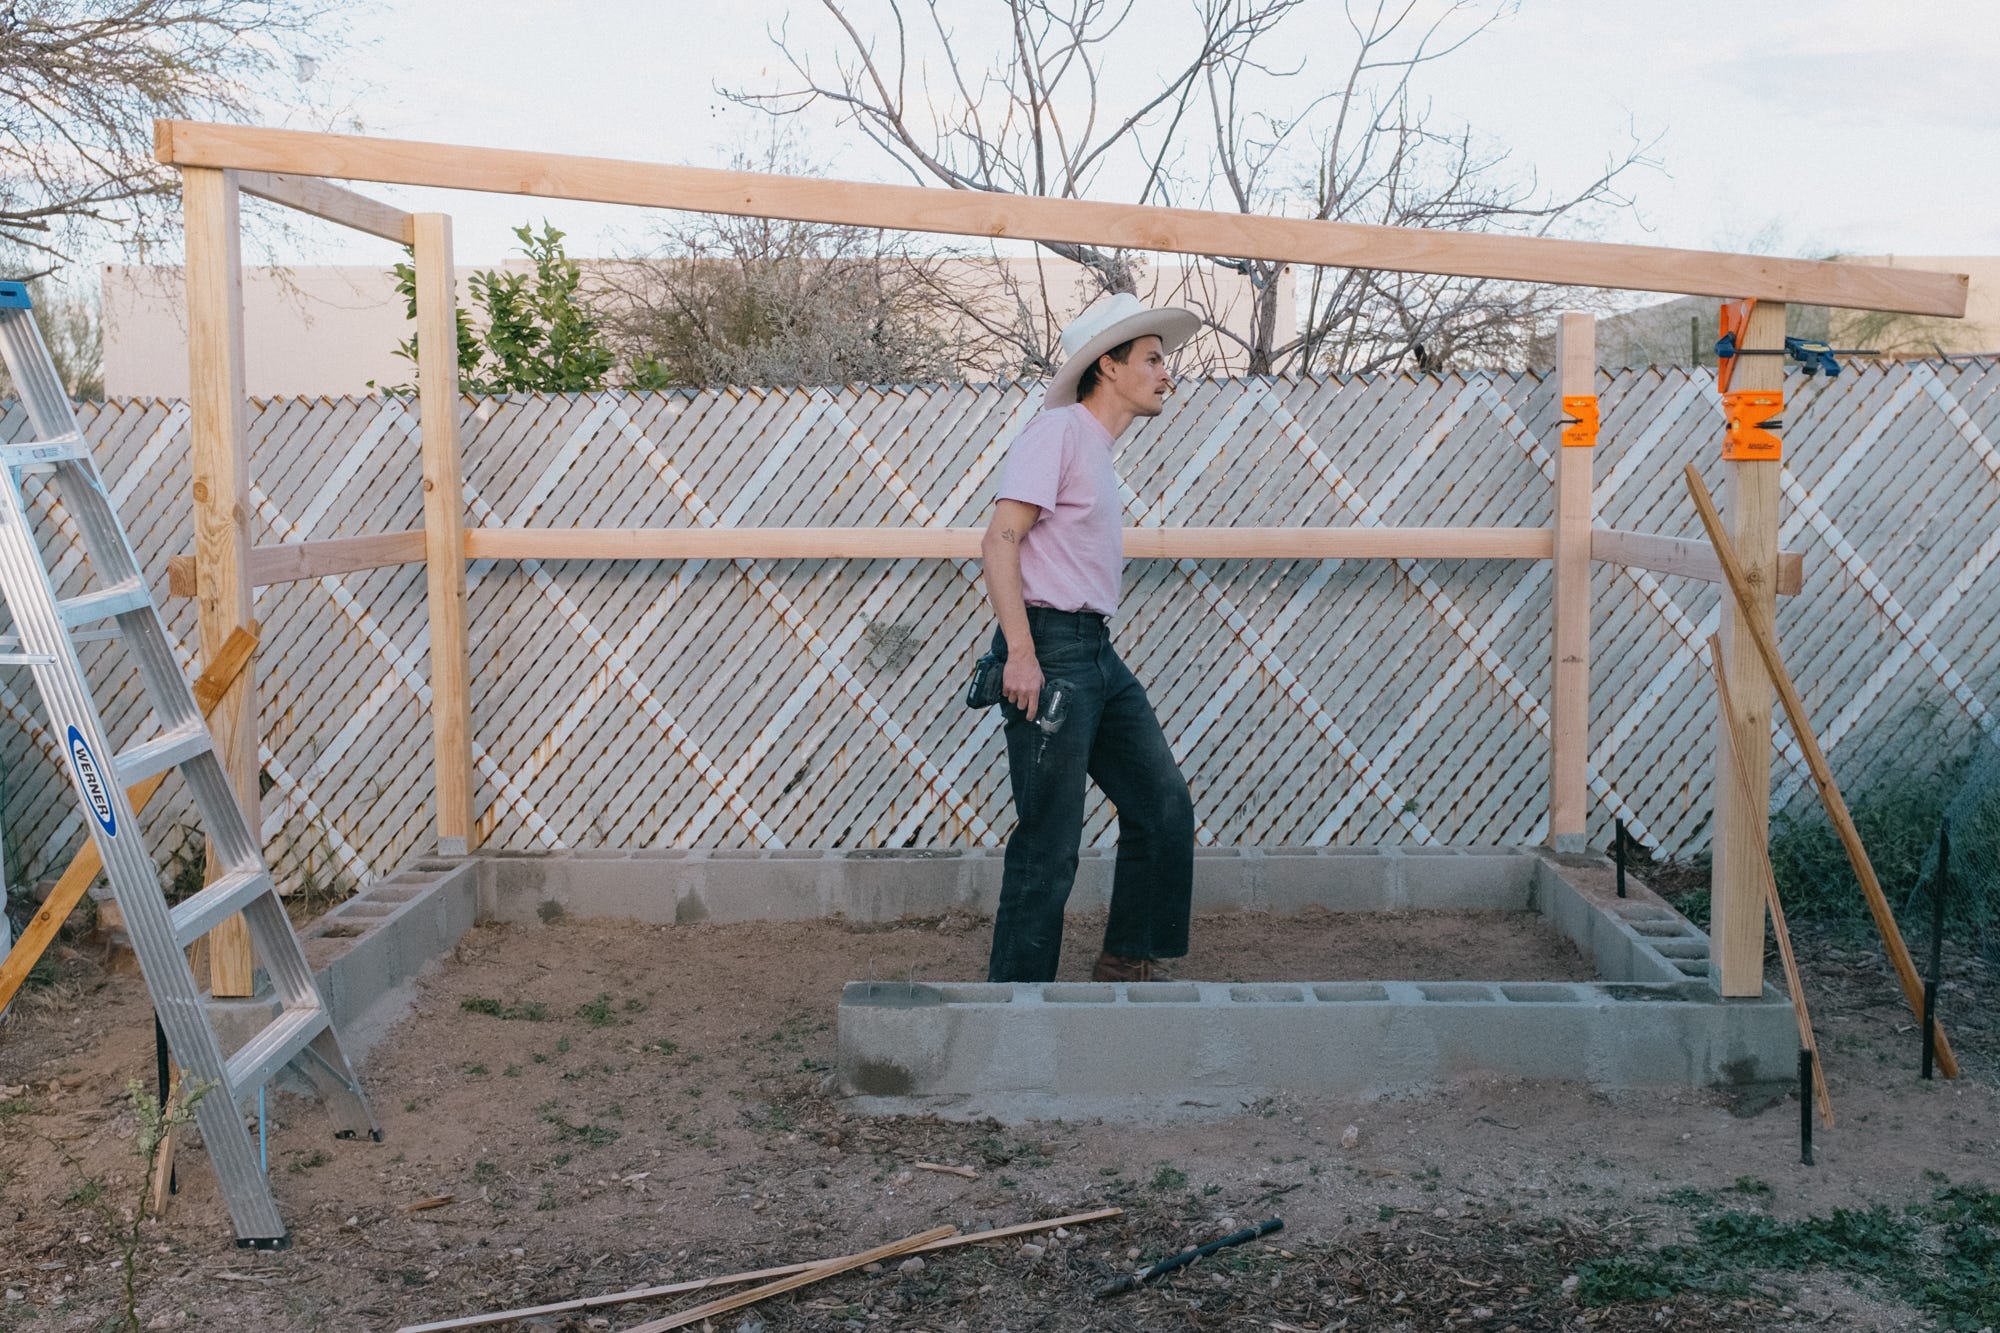
With the post brackets set, we framed the damn thing. 4x4 posts, 2x4 cross braces, some fence post levels and concrete stakes made relatively quick work. There was a rough idea tossed around for the design, but we just framed it one stick at a time and used that to inform the next move. Kinda like setting the main stone and then asking it “where do you want the next one to go?”
I put on my cool hat for the photo, but then took it off again cause i always bump into shit and am scared ill chip the rim when i’m hunched down peeping a level or squeezing between bushes. Not a waste of money, but kinda funny how delicate and expensive “work wear” can be. At the rodeo the other week i kept getting nervous about these young cowboy’s hats that would fly off instantly and then get flicked around by angry hooves.
A weekend worth of good old tunnel vision cussin’ construction. I love building things, hot damn, especially when no one is expecting you to do it or threatening to pay you for it.
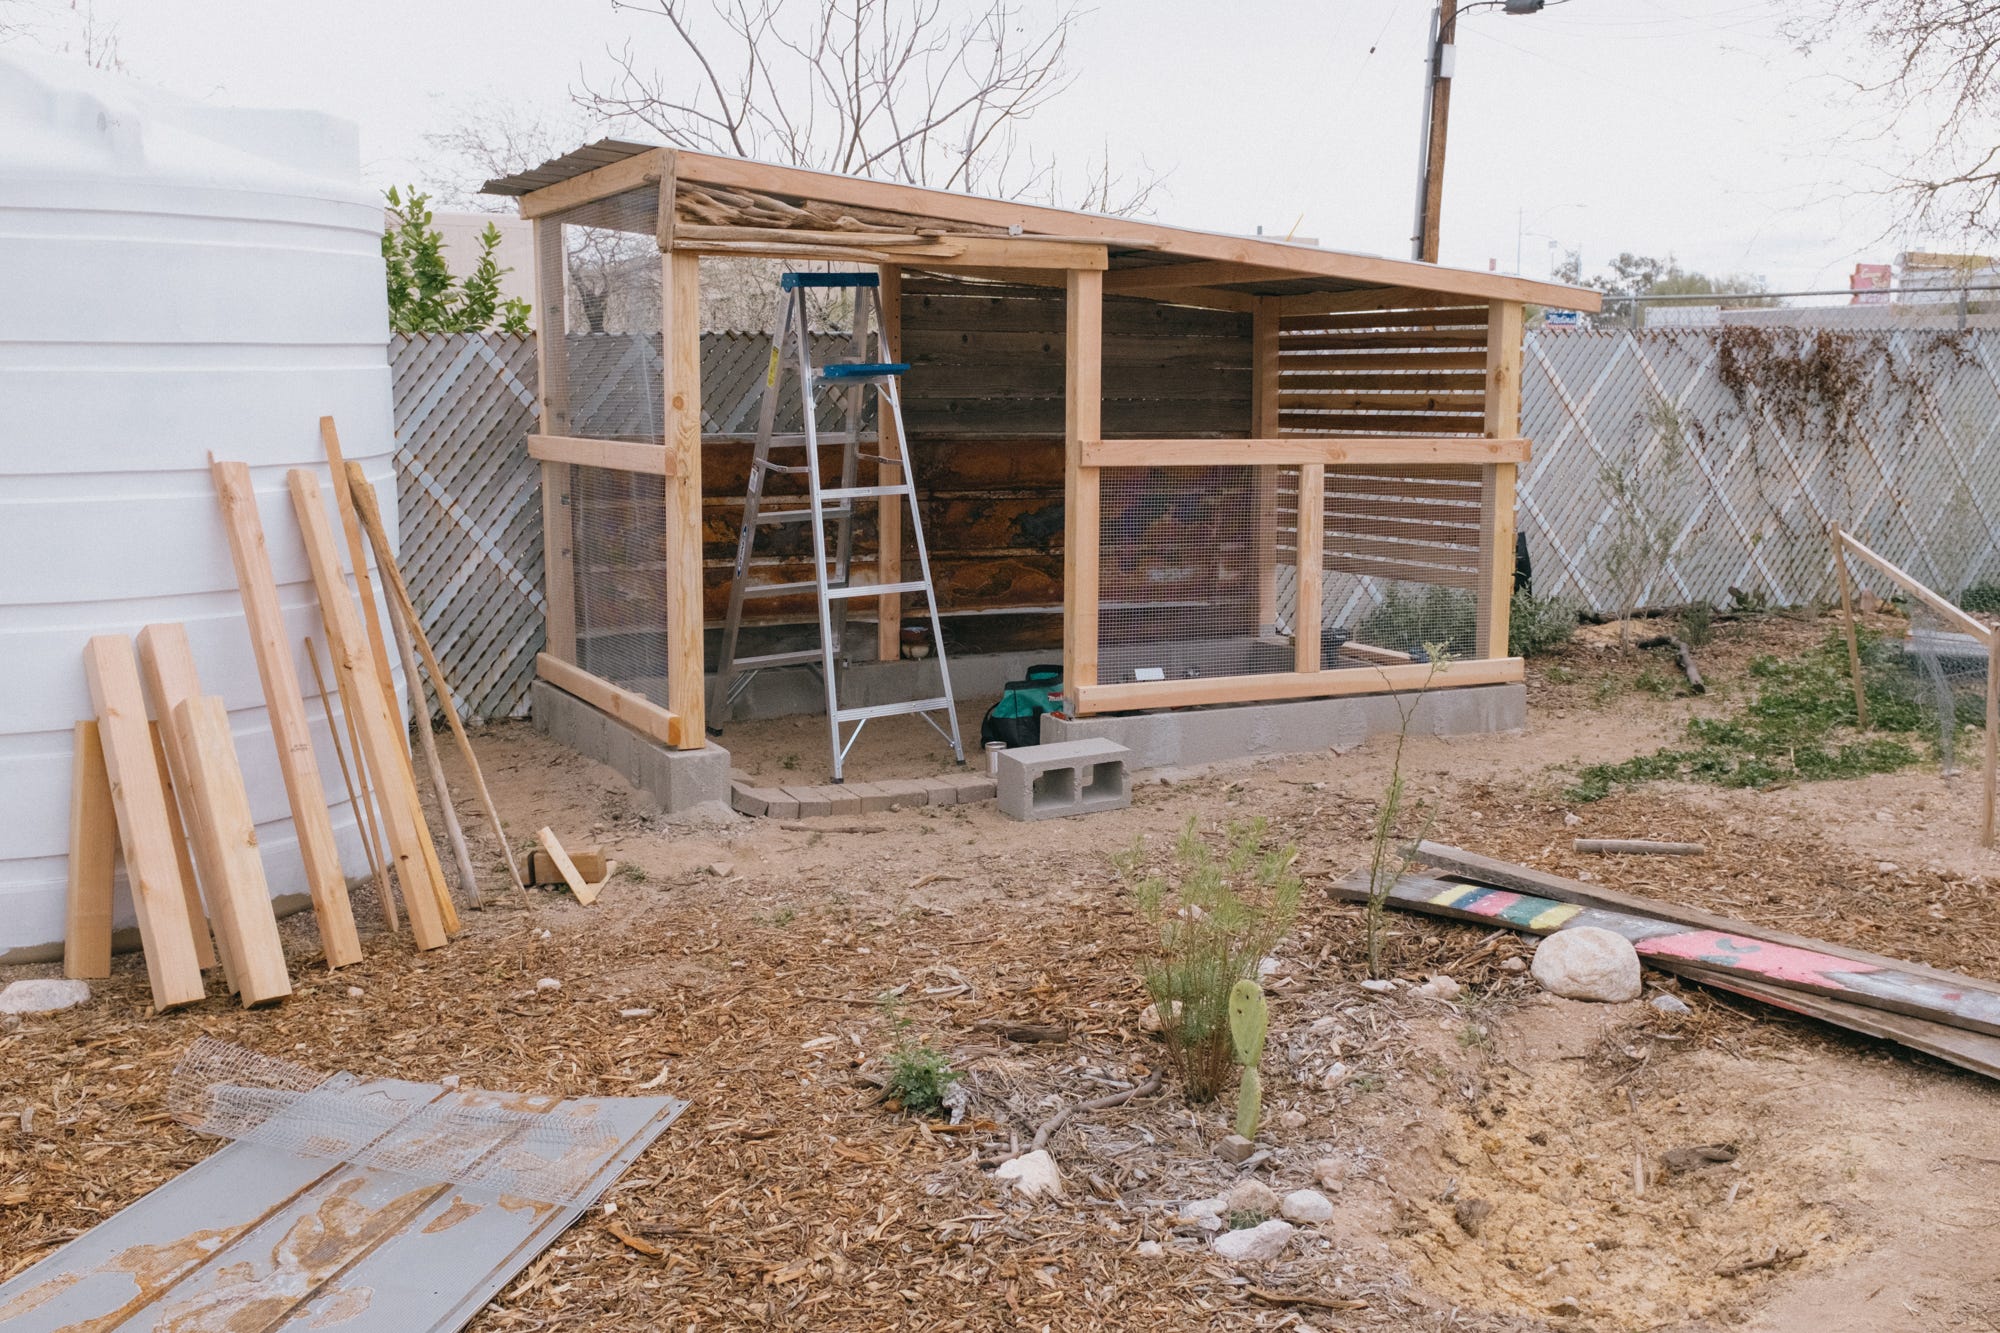
As far as we go. Next big thing is the human door. Generous sizing for easier maintenance and shit shoveling. Sus and I kept joking that as chicken coops often do, this will someday be tacked onto and a brother will likely live in it (we ensured that it could fit a compact drum kit and like 2 full stacks).
The production of this brand washer is my favorite “how it’s made”.
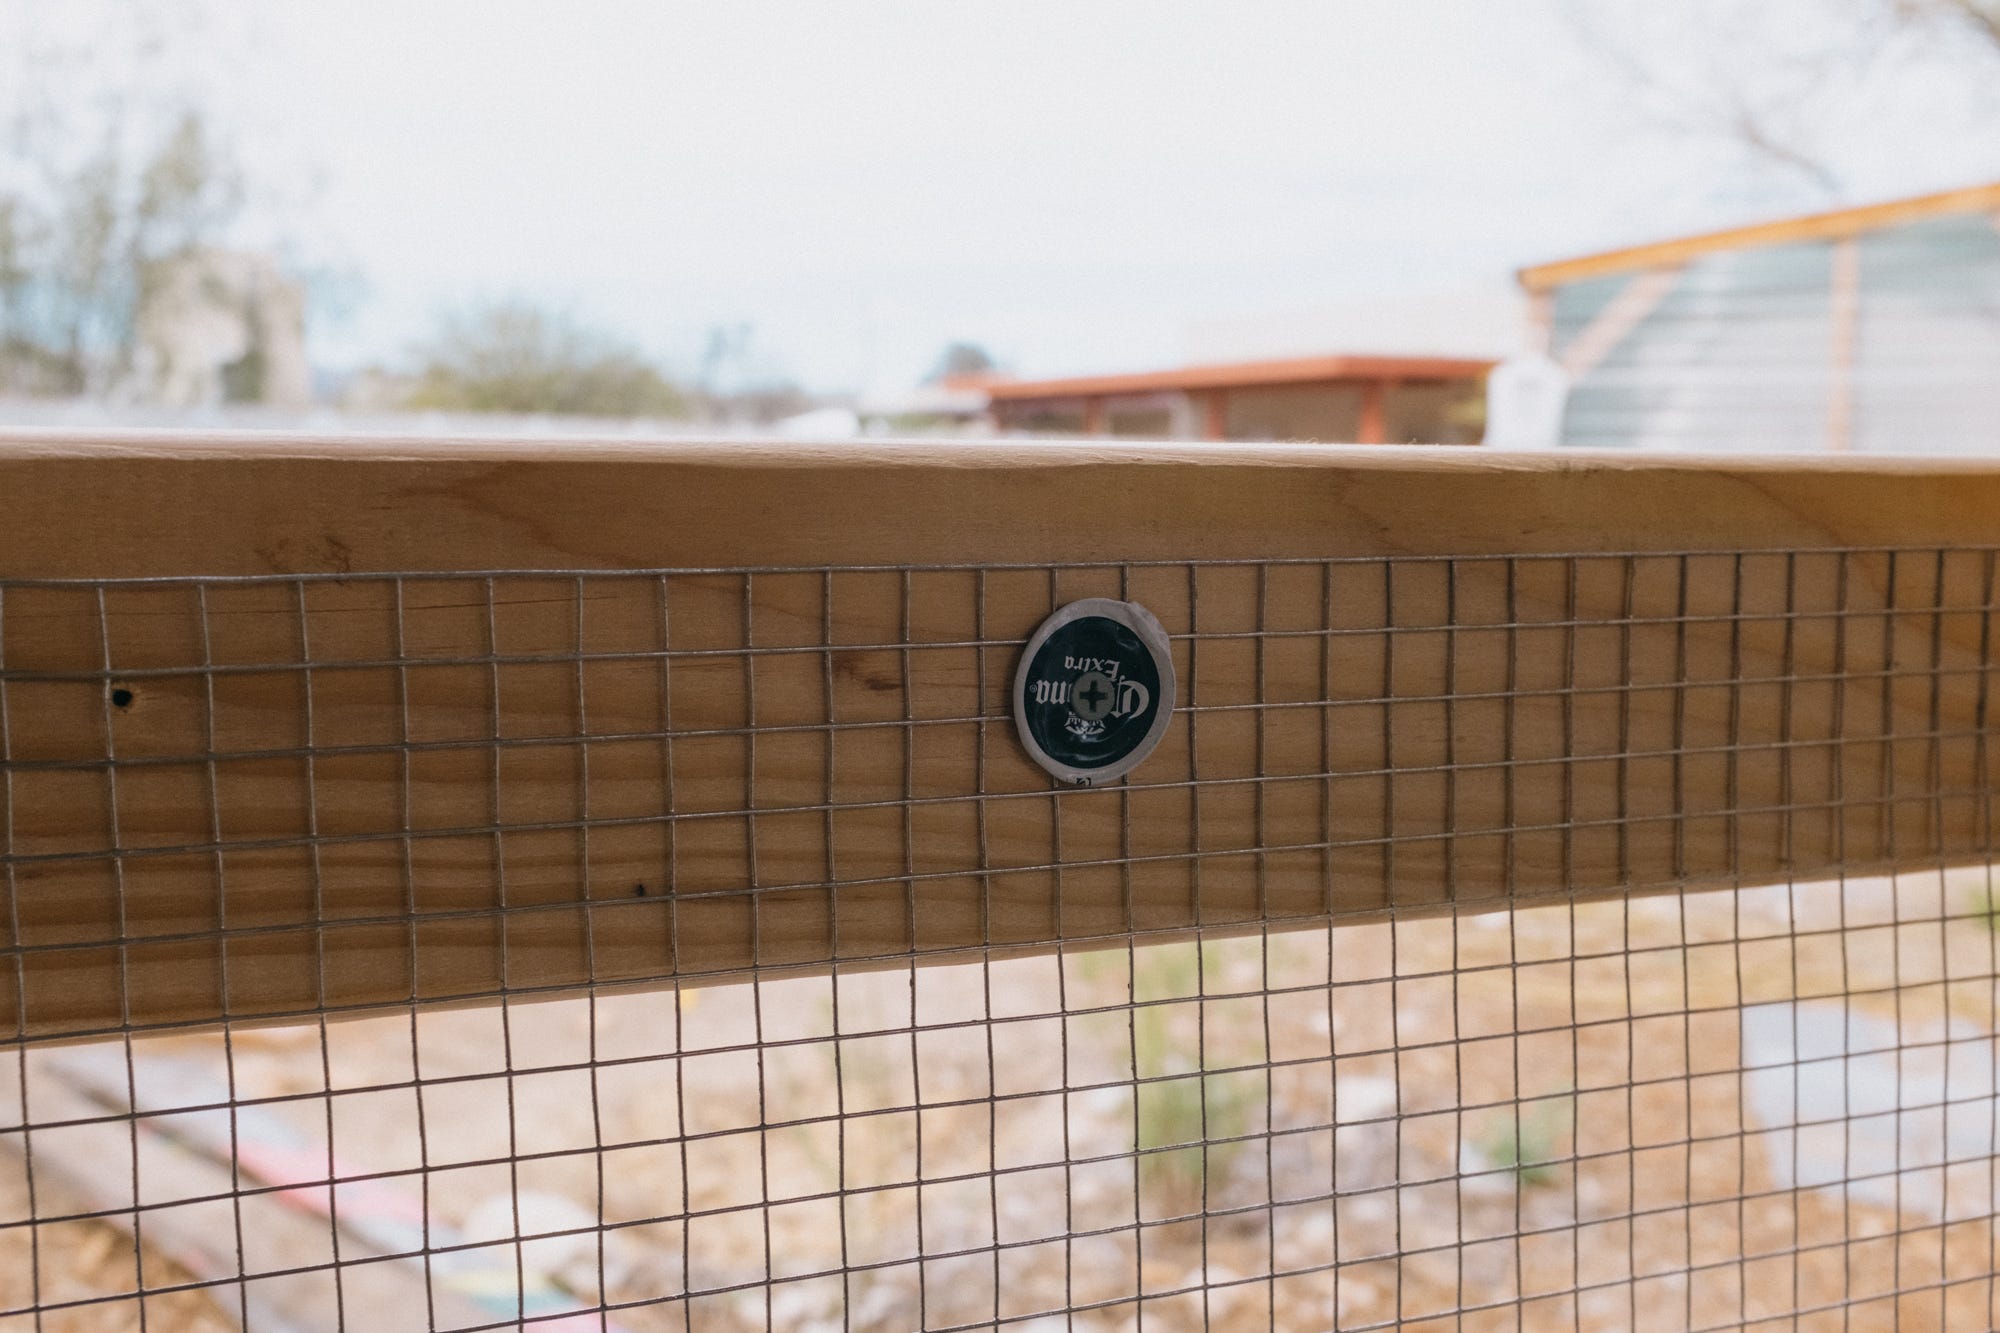
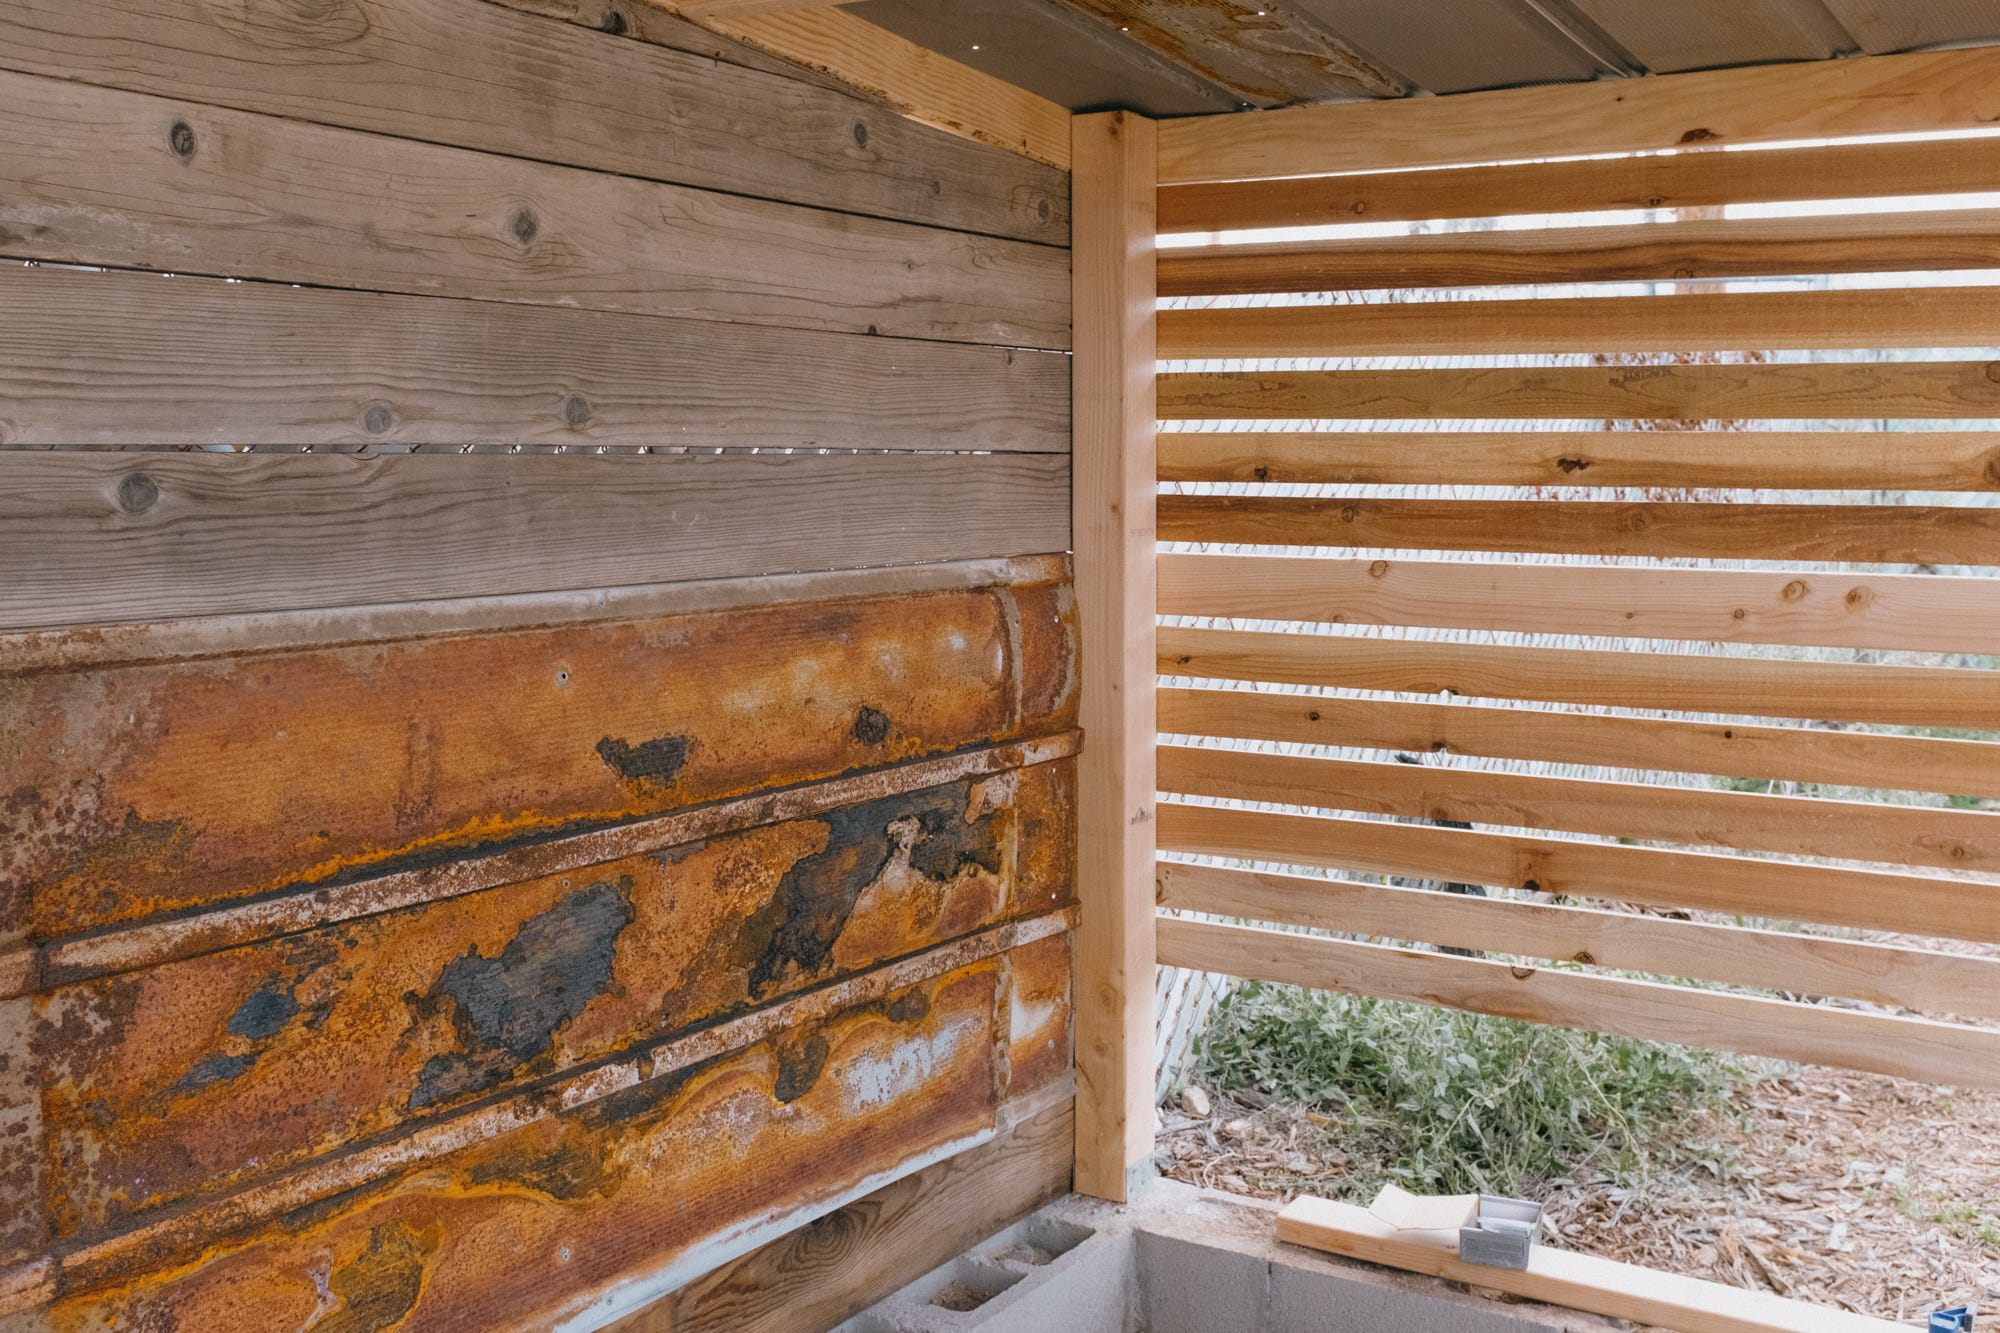
From top to bottom: (Left wall) repurposed raised garden bed 2x6's, thank you whoever built those beds and used redwood, old tuff shed rusted roof from the old shed I dismantled when we got the house, bottom piece is a long 1x12 that was part of a peacock coop at a local joinery workshop that is now an art studio. The horizontal slats are new cedar fence boards that were ripped on the table saw (yes, of course, the gap is the width of the board off cuts). The roof is more of that old tuff shed sheathing.
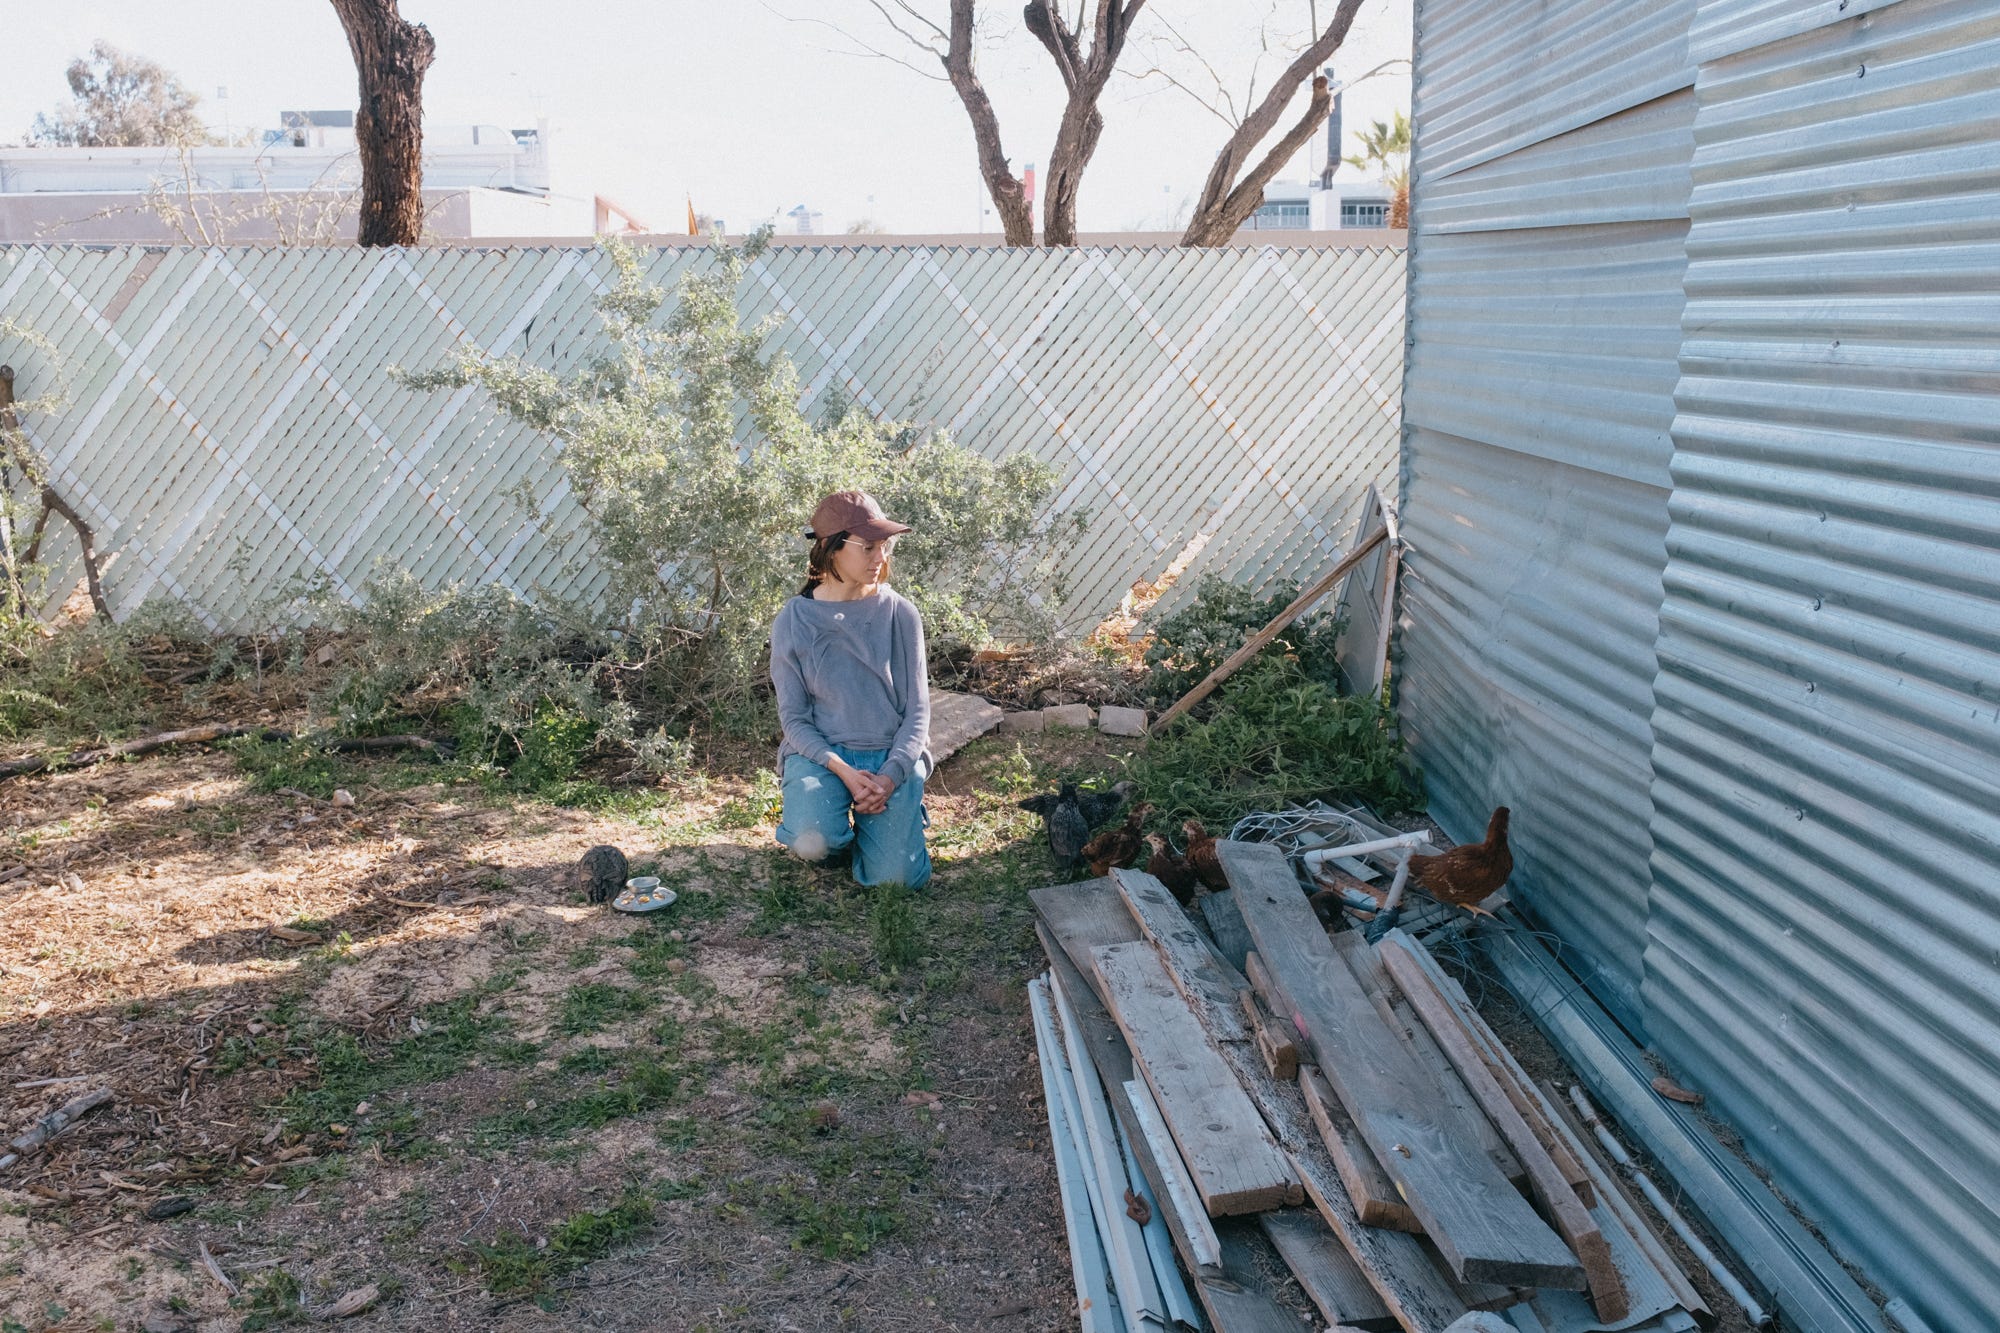
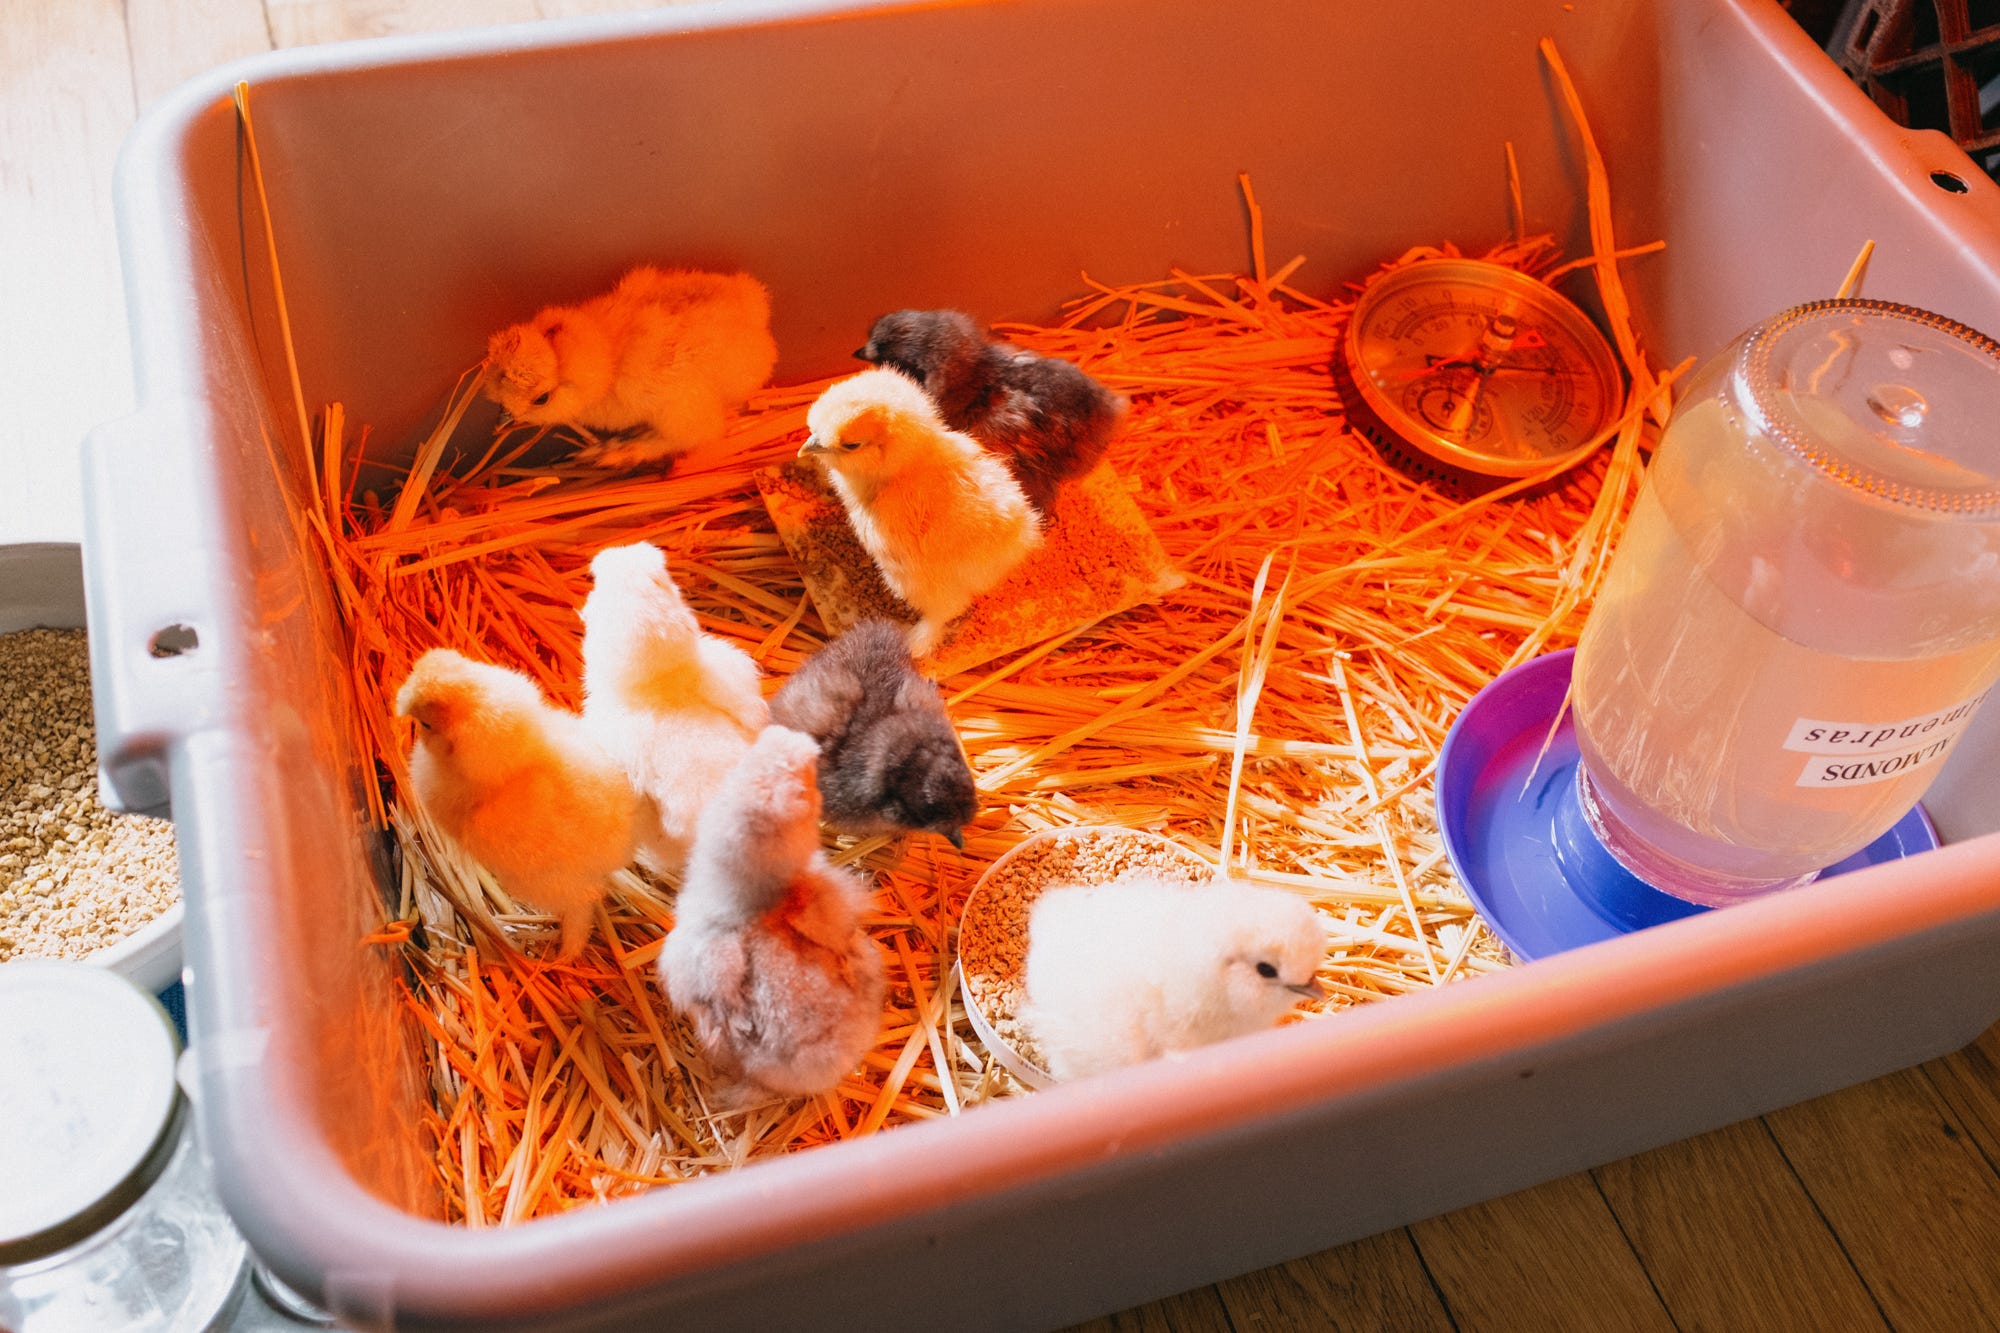
Chicken coop is almost there. The first batch of 7 chicks are growing and now scratching around the yard, with adult supervision. We have another brood of Silkie chicks that are less than a week old chirping near my feet in the office. That is another story for another time, but here is a photo, because they are pretty cute.
peace on earth.
xoxo - erik
ps. i’m just doing this blog for fun. i like taking photos and sharing little projects. i view it like a visual diary to keep track of what was, what is, and what could be. i assume my brother looks at it and maybe a few friends, but please feel free to share with whoever you think might find any of this interesting. like, can people who read this comment? if so, comment below?
Thanks for reading The Mulch Pile! Subscribe for free to receive new posts and support my work.


I live for these lovely chunks of prose
Looking good!